4 steps to switch a course to an exam-Confluence
As one of our previous blogs explained, “eTraining program: successful or not?” training evaluation is the most important part of the learning path.
Exams are the first thing that comes into one’s mind when it comes to assessments and evaluations.
Smart Courses for Confluence is your perfect LMS solution to acknowledge your team and test their learning path. Creating courses and exams have the same process. However, you must pass 4 steps to switch from a regular course to an exam.
This blog post will take you through the different steps to learn how to turn pre-created regular courses into exams while using our LMS tool for Confluence.
1. Select Exam mode
This is the first and most important step to start with. You have to click the “Exam mode” option in the course configuration, which will be visible as a tag in the course card layout. This tag helps the user differentiate between a regular course and an exam from the course catalog.
The exam mode feature reflects specific rules in metrics and course playing.
Metrics:
As you can see in the below screenshot, the exam metrics are slightly different from the regular course metrics. In fact, there is an extra part that contains:
- Average Score
- Finished the exam
- Pass/Fail

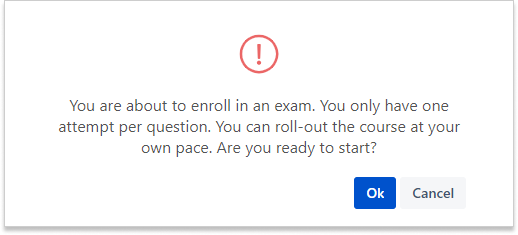
Course player:
When you click on “Start” on the course card, you’ll get a pop-up message indicating that you are enrolling in an exam and how many questions attempts you have.
When exam mode is selected, you’ll have two mandatory fields to fill, which are the:
These two options are the prerequisites for the user to pass or fail an exam—for example, an exam containing 5 questions with an 80 as the minimum pass score. If the user answers 3 correct questions and 2 wrong, he/she will fail the exam with a 60% score.
By default, the “Force sequential navigation” option will be selected when you click on exam mode, which is forcing the user not to skip a capsule and go through them one by one in the given order. This option can be disabled if not needed.
2. Hide question results
As mentioned earlier, the course creator can grant the user more than 1 attempt in an exam. Therefore, we designed this option to prevent the attendee from seeing the questions’ results on the first attempt in case they’re retaking the course to make sure that Smart Courses meets the requirements of a real exam.
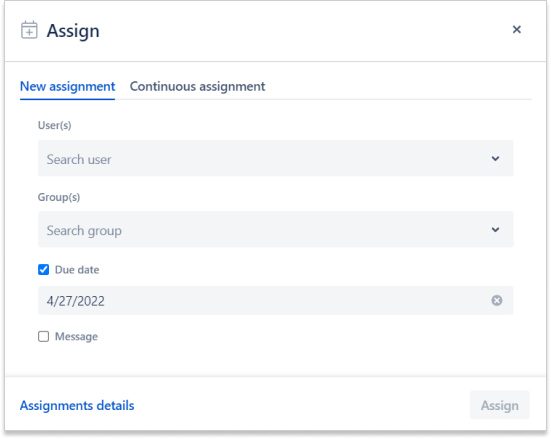
3. Due date
In-class exams are set for a period of time, which also implies to the online exams. However, the duration differs as you cannot control or supervise an online exam, but you can set a due date for it.
The due date is the number of days for the user to complete the course. A reminder will be sent to the user every day for 5 days before the due date. Once enrolled, the reminder stops showing. This option is set with the assign feature as shown below.
Thinking of the possible events that can occur for the attendees during the due date period, users may not have the time to enroll in the course due to workloads or other engagements. Therefore, we provided you the option to allow their enrollment even after the due date is overdue.
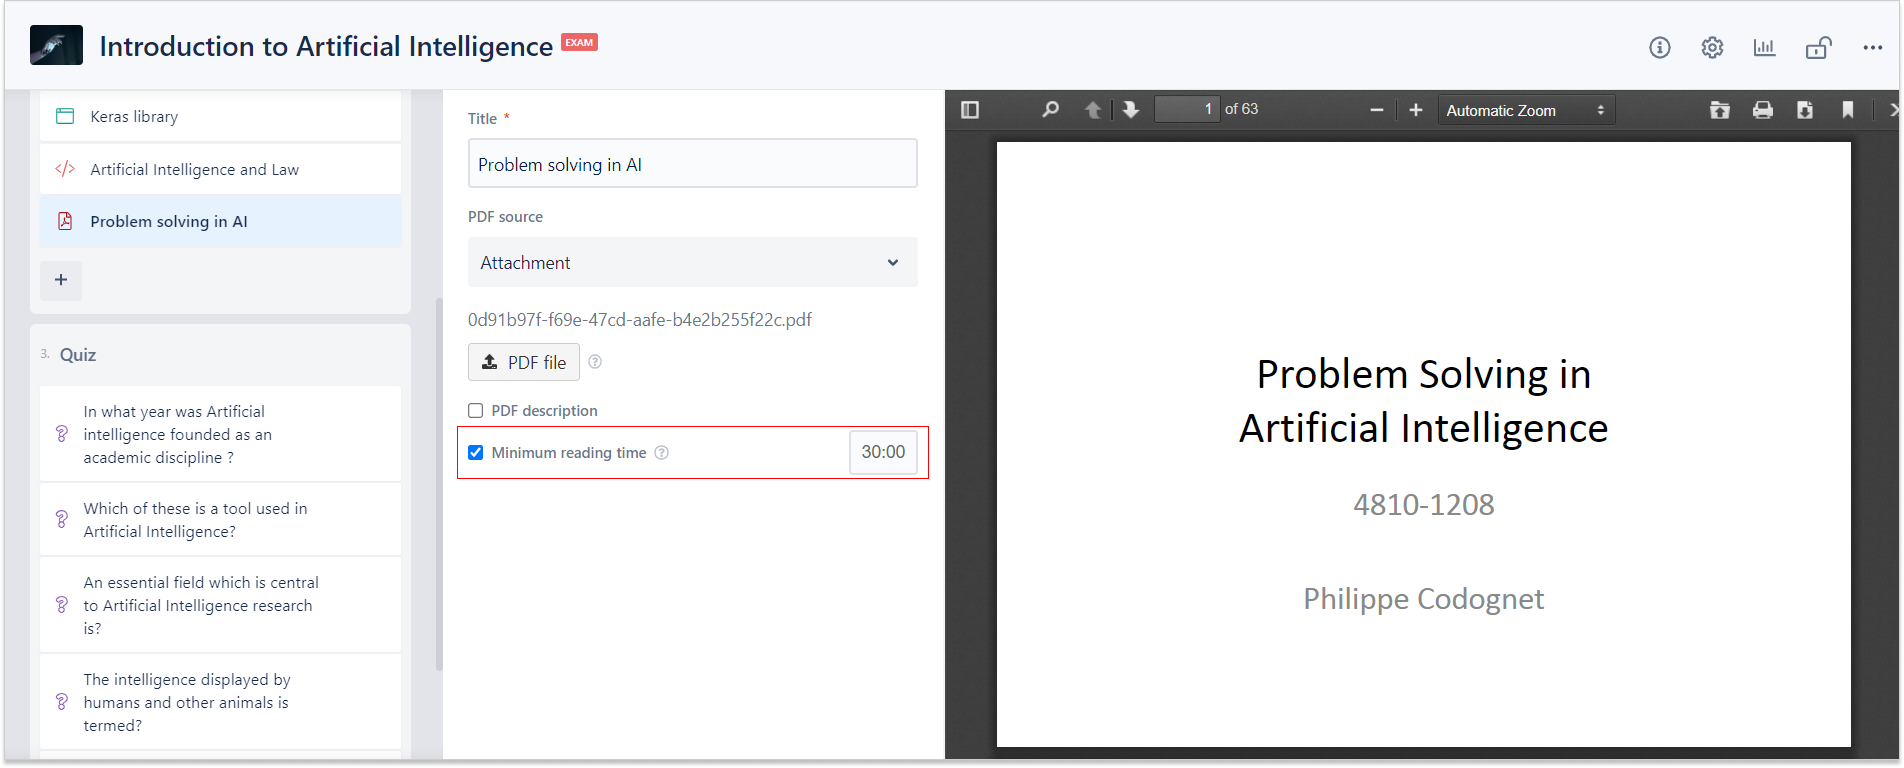
4. Minimum reading time
Many customers ask, “how can I ensure that the user reads or watches the whole capsule without skipping it? I need them to see the capsule and understand the content, not just pretend they saw it by clicking it and skip to the next capsule.”
As a course creator, you can set a minimum reading time for specific capsules and force them to stay on the capsule. Users will not be able to move to the next capsule until that time is finished. Well, this can be a great hack to keep them engaged with the capsule content for some time that you set.